
Advanced Features for Your Product
This guide covers the most advanced tools available to maximize sales and your customers’ experience. These features will help you increase average order value and improve customer satisfaction.
Updated on 06 of October, 2025
Features you will learn to configure:
- Upsell and Downsell: Complementary offers after payment
- Order Bump: Additional products during checkout
- Customized Thank You Page: Customized post-purchase experience
Upsell and Downsell
Upselling and downsells are powerful strategies for increasing the average value of each sale. They allow you to offer complementary products to the user after they complete their initial purchase.
How does the flow work?
- Upsell: This is the first offer the customer will see after their purchase. It is usually a higher-value product or a premium version.
- Downsell: If the customer rejects the upsell, they will be shown alternative offers (downsells) at a lower price or with a different value proposition.
- Multiple downsells: You can configure several downsells that will be displayed sequentially if the customer continues to reject the offers.
Effective use cases:
- Offer premium versions of your main product
- Add-ons that enhance the value of the initial purchase
- Exclusive offers only available after purchase
- Related products that meet additional needs
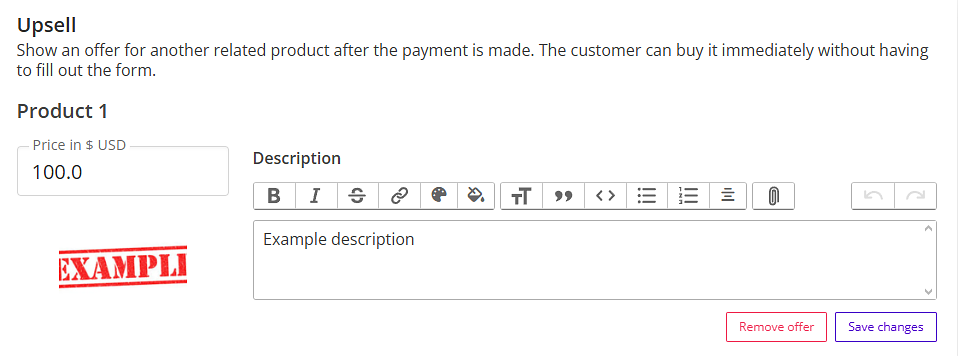
Step-by-step setup
To set up upsells and downsells for your product:
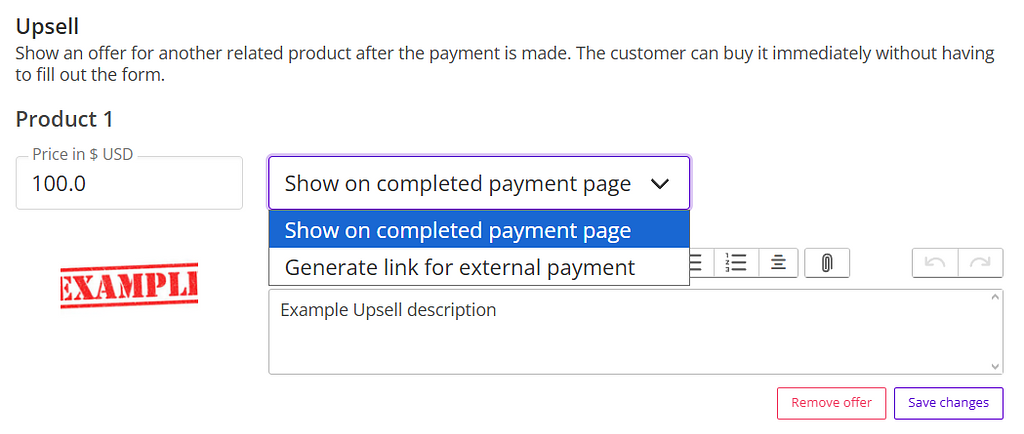
- Go to the “Upsell” section in the product editing tab
- Select the product you want to offer as an upsell

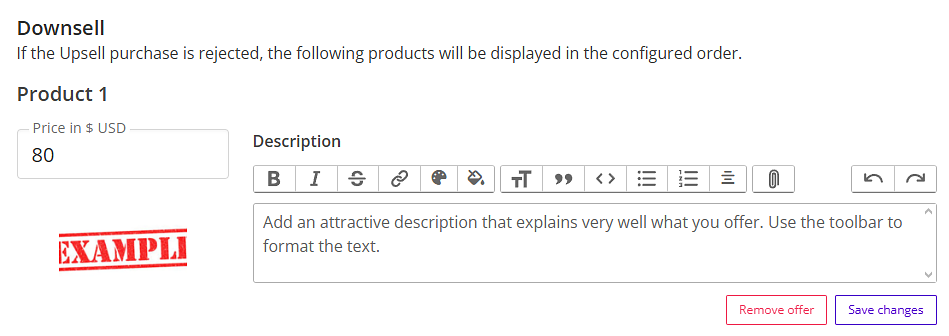
- Once you have selected the product, you can customize:
- Special price: Offer an exclusive discount for this sequence
- Custom description: Explain why this product perfectly complements their purchase
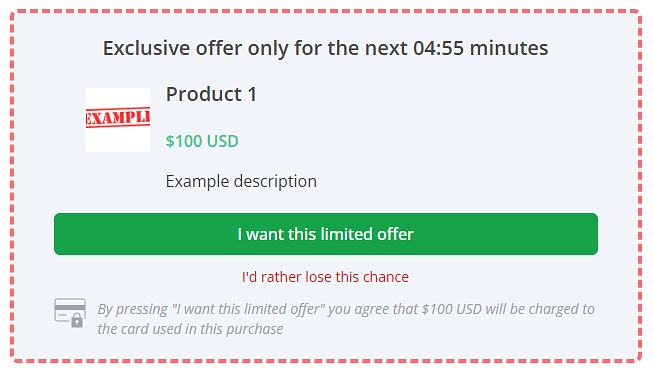
How it looks to the customer
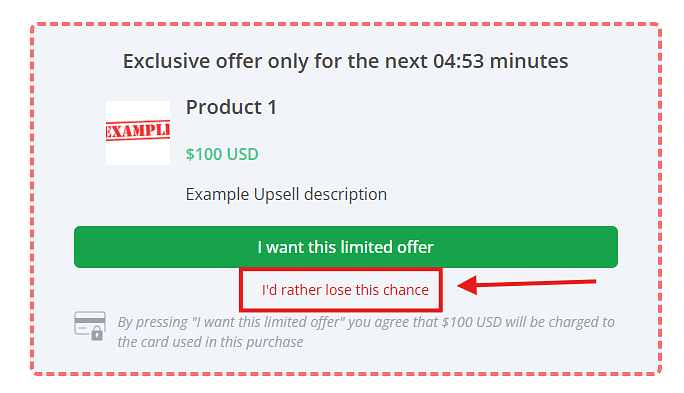
With the configuration complete, the user will see an offer immediately after successful payment:
With custom description:
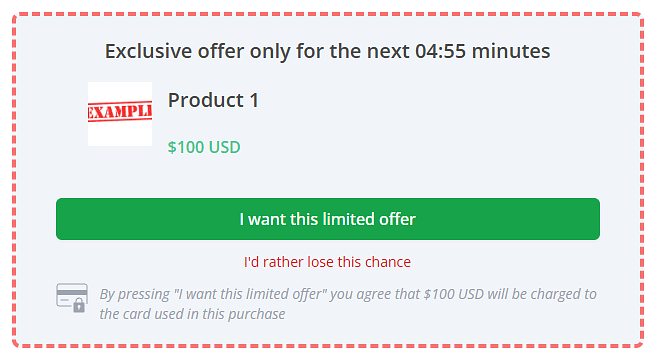
Without custom description:
Setting up Downsells
Once your upsell is created, the “Downsell” section will appear where you can set up alternative offers:
- Select the product for the downsell (it can be the same product with a different price or a completely different one)
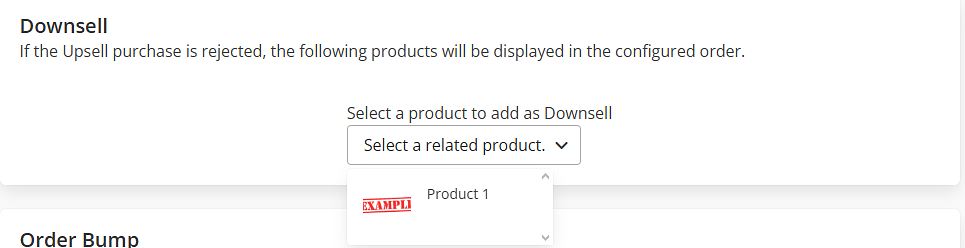
- Configure a specific price and description for this alternative offer
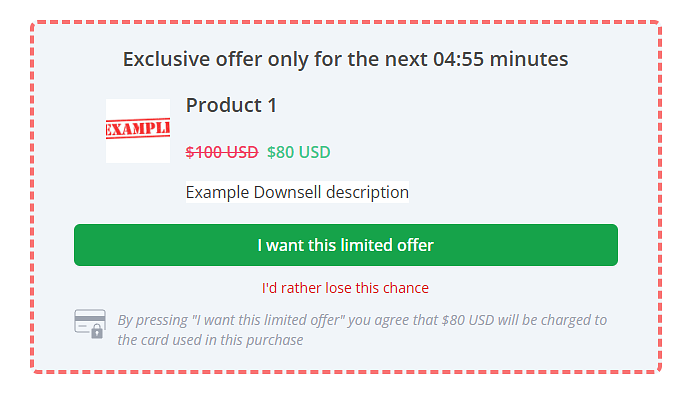
Downsell flow in action
When the customer rejects the upsell, the downsell sequence will automatically be triggered:
Multiple downsells
You can add as many downsells as you want using the “Add Downsell” button. They will be displayed in the order you add them, creating a progressive offer funnel.
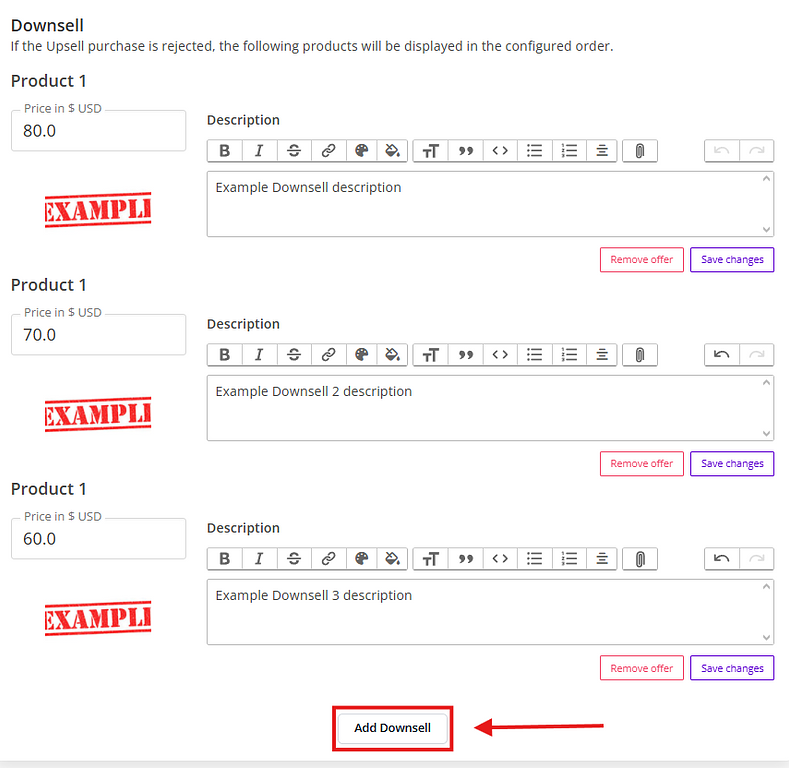

Conversion tip: Sort your downsells from highest to lowest price to maximize the value captured at each stage of the funnel.
With this, you have a complete upsell and downsell system set up for your product!
Get Upsell and Downsell Links
For selected users, we offer the option to obtain direct links that allow you to process Upsells and Downsells on our platform. These links can be integrated into personalized thank you pages to create completely customized shopping experiences.
Configuration
Availability: This feature is only available for stores that meet specific volume and configuration criteria.
Interested in activating this feature? Contact our support team to assess whether your account meets the necessary requirements.
How to activate it
If you have this feature enabled, the option to get your direct link will appear in the same Upsell and Downsell configuration box:
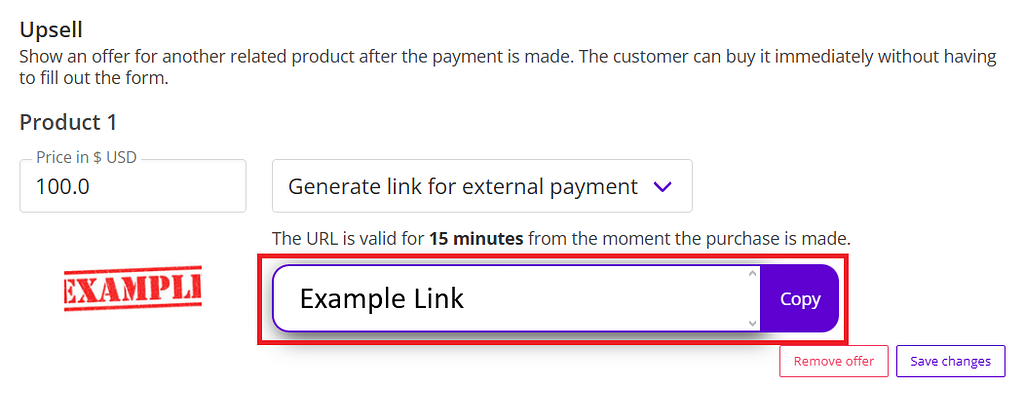
Implementation on your personalized page
Once you have obtained the links, you can integrate them into your personalized thank you page:
Important: The links have a limited validity and are linked to the specific purchase session. Be sure to implement them correctly to ensure optimal performance.
Order Bump
Order Bump is an effective strategy for increasing the average value of each transaction. It allows you to display additional products directly on the checkout page, encouraging the user to add more items to their current purchase.
Why use Order Bump?
- Increases the average value per purchase without additional effort from the customer
- Offers complementary products at the optimal time (during checkout)
- Improves the experience by suggesting related items that truly add value
- Less intrusive than post-purchase upsells
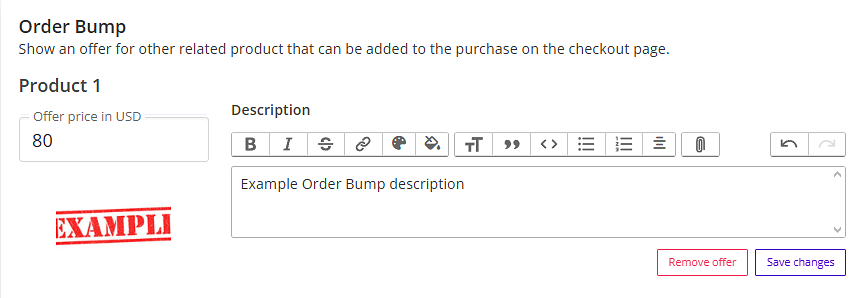
Step-by-step setup
- Go to the “Order Bump” section in the product editing tab
- Select the product you want to display as an additional offer
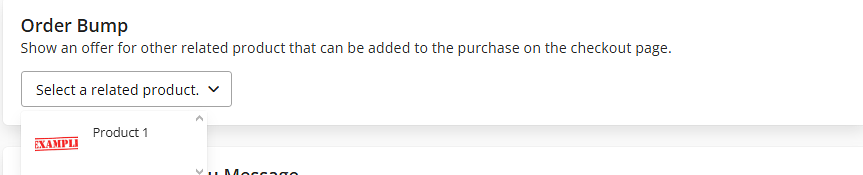
- Once you have selected the product, you can customize:
- Special price: Offer an exclusive discount or keep the original price
- Custom description: Explain why this product perfectly complements their purchase
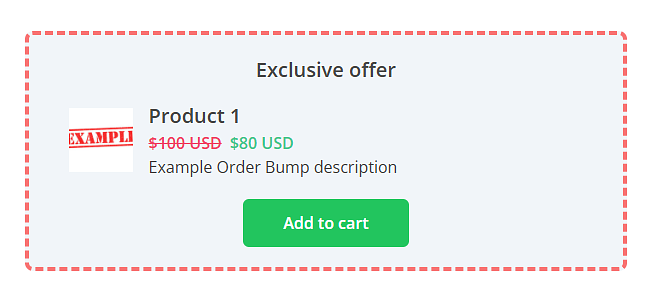
How it looks to the customer
Once configured, the offer will appear integrated into the checkout page, allowing the user to add it with a simple click:
Customized Thank You Page
The customized thank you page allows you to create a post-purchase experience that is completely controlled by you, redirecting customers to your own website after a successful payment.
Configuration
Availability: This feature is only available for stores that meet specific volume and configuration criteria.
Interested in activating this feature? Contact our support team to assess whether your account meets the necessary requirements.
How to configure this option
- Activate the “Custom Thank You Page” option in your product settings
- Enter the full URL of your custom page

Important: Once enabled, you will be responsible for the entire user experience on your thank you page. Make sure it works properly before implementing it.
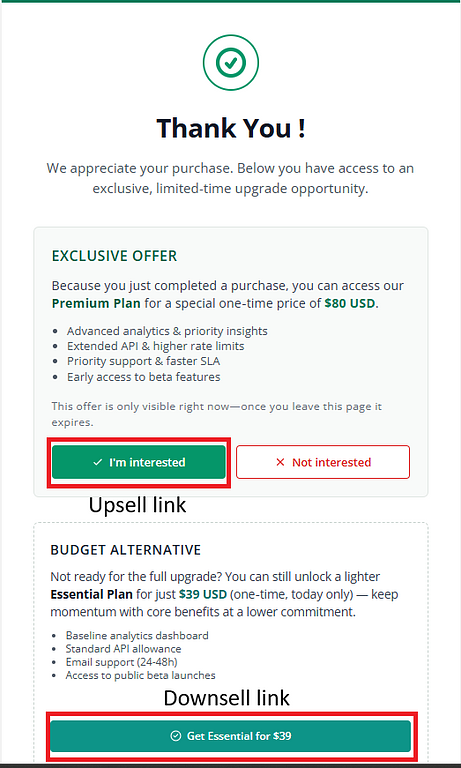
How it looks to the customer
With the configuration complete, the user will be automatically directed to your custom thank you page. Below is an example of a custom page that includes integrated Upsells and Downsells:
New purchase flow with these options enabled
Below are examples of what the complete purchase flow looks like with the advanced features you learned about in this guide:
Step 1: Payment page with Order Bump
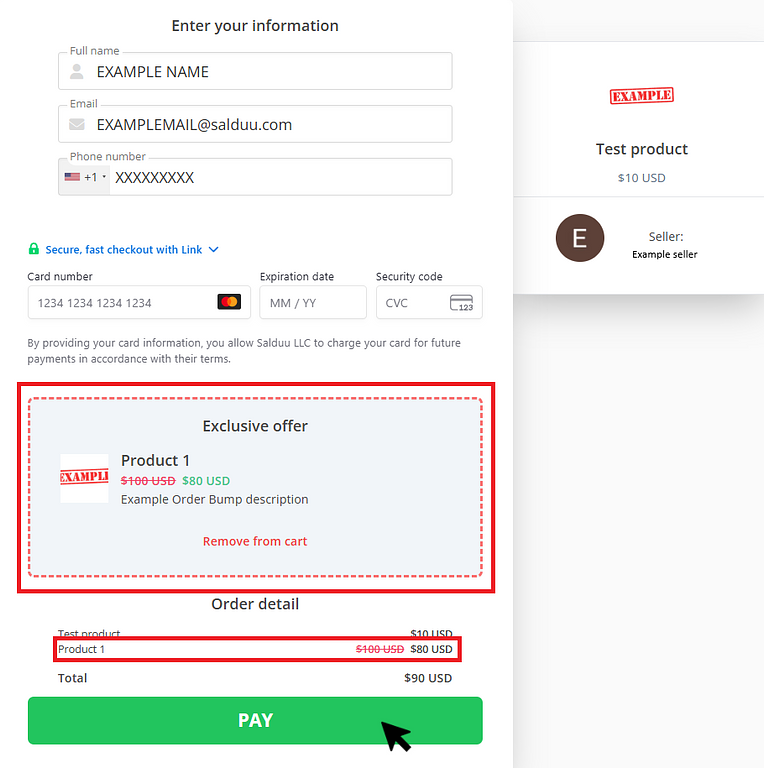
Flow without a custom thank you page
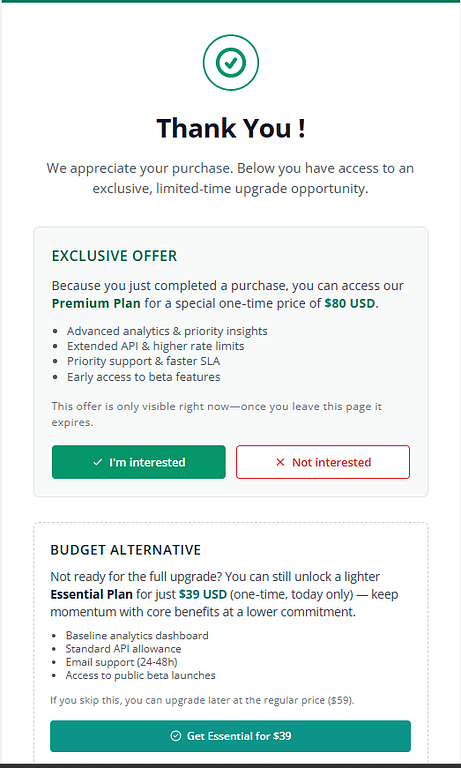
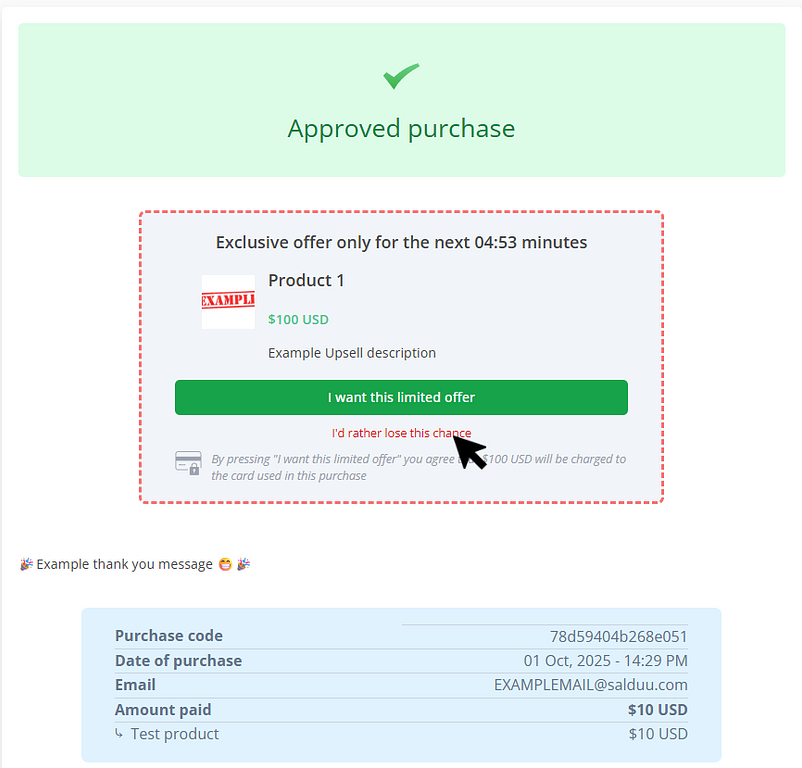
Step 2: Successful payment confirmation and upsell offer
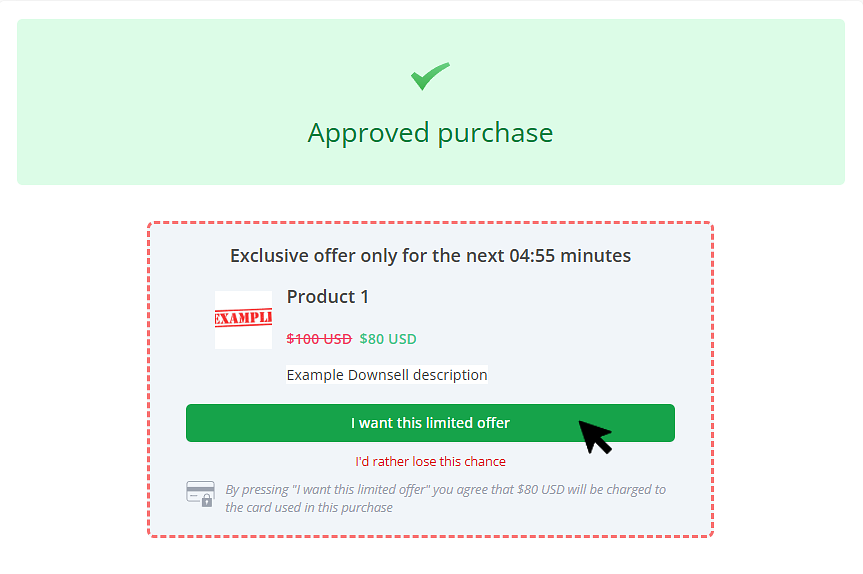
Step 3: Downsell offer (if the upsell is rejected)
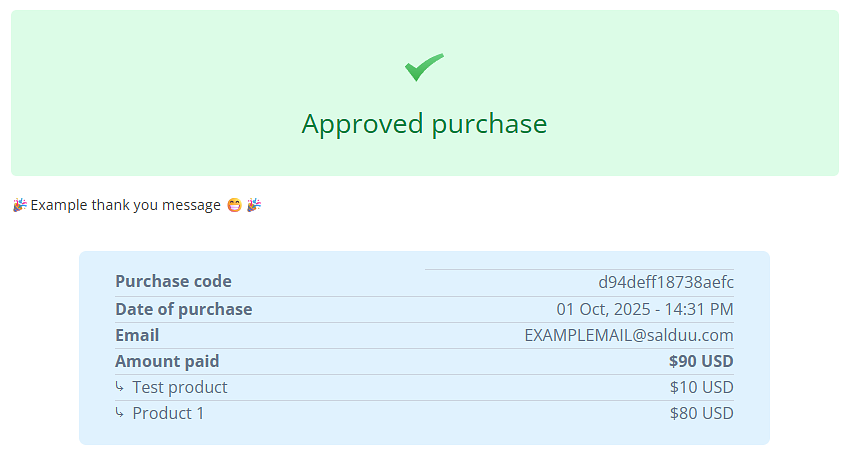
Step 4: Payment accepted
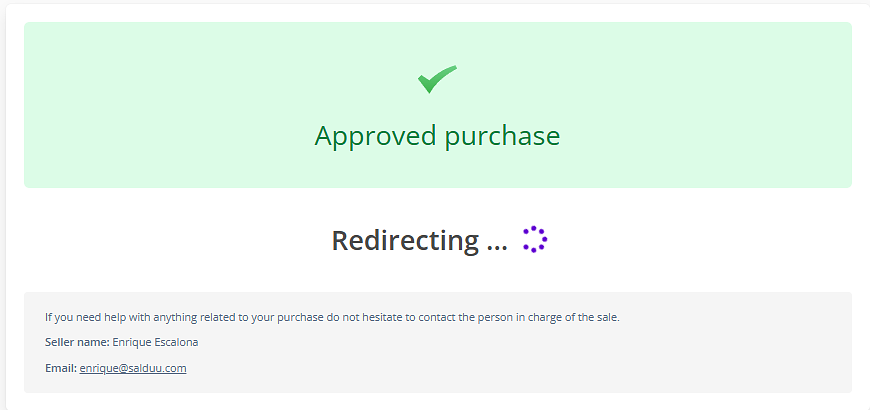
Flow with custom thank you page
Step 2: Redirect to your custom page
Step 3: Your page with integrated upsells/down sells
With these advanced tools set up correctly, you can significantly increase your revenue per customer while improving their shopping experience!
Subscribe for free to Salduu
You'll be the first to know when Salduu uploads a new product, or posts something on their blog!